We test our software a lot, and it helps to have a large network. We don’t have thousands of servers like many customers, but we can simulate a large network which gives us better real-world testing. It’s time to expand our environment again, but we didn’t want to setup another large server for VMs that ultimately do very little. Using one of the new “Mini-PCs” seemed like a good idea, so we’ll show you what we did.
The goal was to get a VMWare ESXi 6.5 system running for about $700.
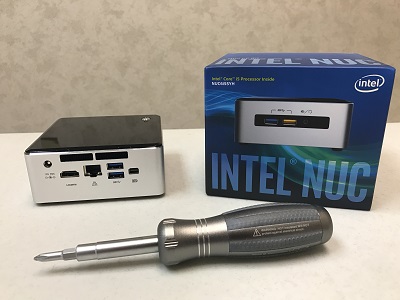
We went to our friendly local Microcenter and asked about an Intel NUC. The models they had in stock came with either a Pentium, i5 or i7 processor, and no memory or disk. Perfect!
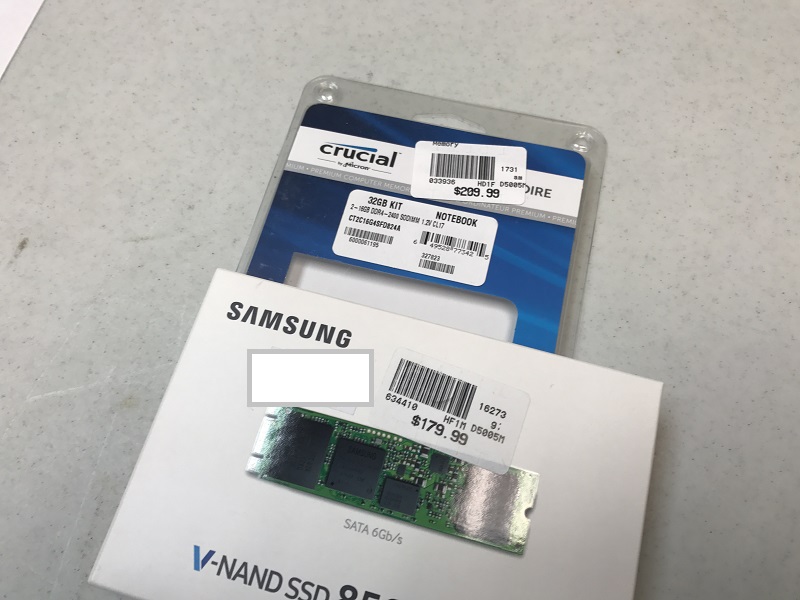
We got the i5 model (NUC6i5SYH), 32GB of RAM, and a 512GB M.2 SSD drive. You’ll see these really are small devices (banana not available, so screwdriver for size comparison). The cost was right around our $700 goal (sorry, I don’t have the receipt handy).
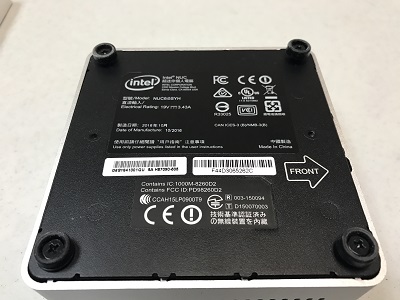
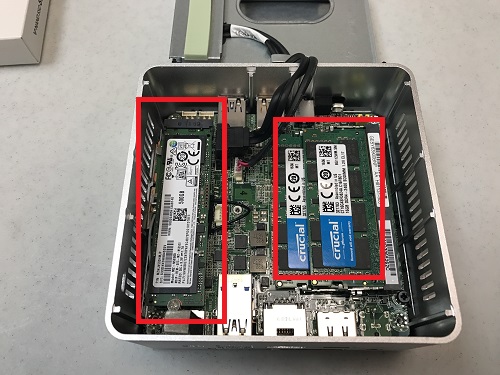
Installing the RAM and SSD drive was a snap. You basically loosen 4 screws on the bottom and lift the top off.
You can see where the RAM and M.2 SSD drive were installed. Installing an M.2 drive requires a special screw to keep it in place. I don’t recall whether it came with the NUC or the drive, but we ended up having one.
Time to put it back together, and connect to keyboard and mouse (USB), video (HDMI), and power (included with NUC). I can thank Quinn for the nice backdrop 🙂
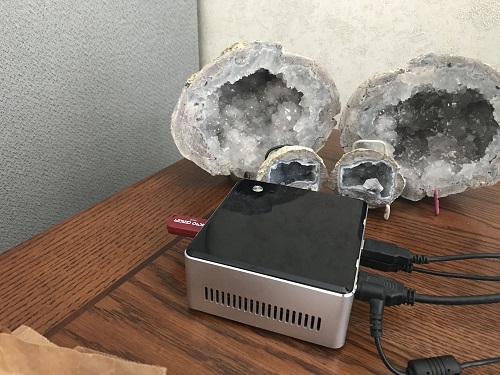
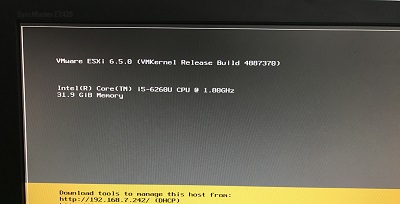
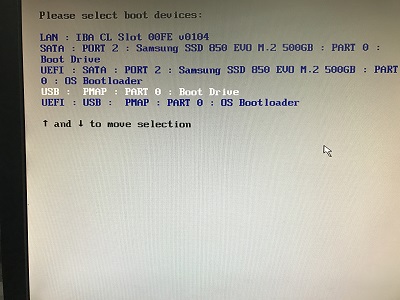
You’ll see a small red thumb drive connected to the front. We downloaded the free VMWare ESXi 6.5 (which apparently is now called vSphere Hypervisor) and burned the ISO onto the USB drive. Once the power was on, we went to the NUC boot screen, the boot menu (press F10), and finally to the VMWare installer welcome screen.
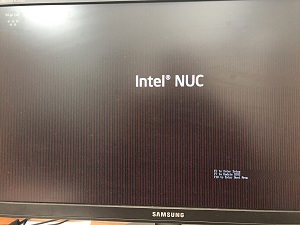

The screen doesn’t look great in the images above. I’m not sure what I did, but after rebooting, everything was smooth and clear.
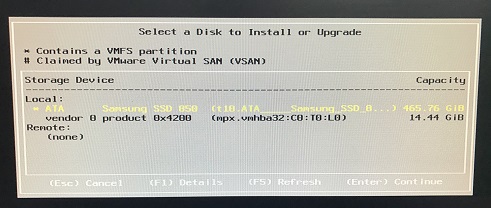
The only real choice we had to make was which drive to install VMWare onto, and naturally we choose the internal M.2 SSD drive we had installed.
The installation was as smooth and simple as could be, and when we were done, we had a new VMWare host! Time to load up a bunch of tiny VMs 🙂