By Des Nnochiri
Justifiably or not, Microsoft’s Windows 10 has gained the reputation as an operating system that doesn’t respect your privacy as much as it should. If you or your organization are Windows 10 users, this guide will assist you in protecting your privacy during day-to-day operations.
Turn Off Your Advertising ID
Like mobile platforms and social media operators, targeted advertising is a revenue stream for Microsoft. For privacy advocates, it’s one of the more annoying aspects of Windows 10.
The way it’s governed is through the creation of an advertising ID for each user. This collates personal information with data from your past and present activities to present ads relevant to your interests or current task. The data collected also includes information from your web browsing and your use of Windows 10 apps.
To turn off your advertising ID, click the Start button at the lower left corner of your screen, click the Settings gear icon, then choose Privacy > General. Under the “Change privacy options” listing, you can move the first slider to Off, disabling your advertising ID. Note that this will prevent your interests from being tracked and stop the targeted ads, but it won’t stop ads entirely. You’ll still be presented with general interest advertising.
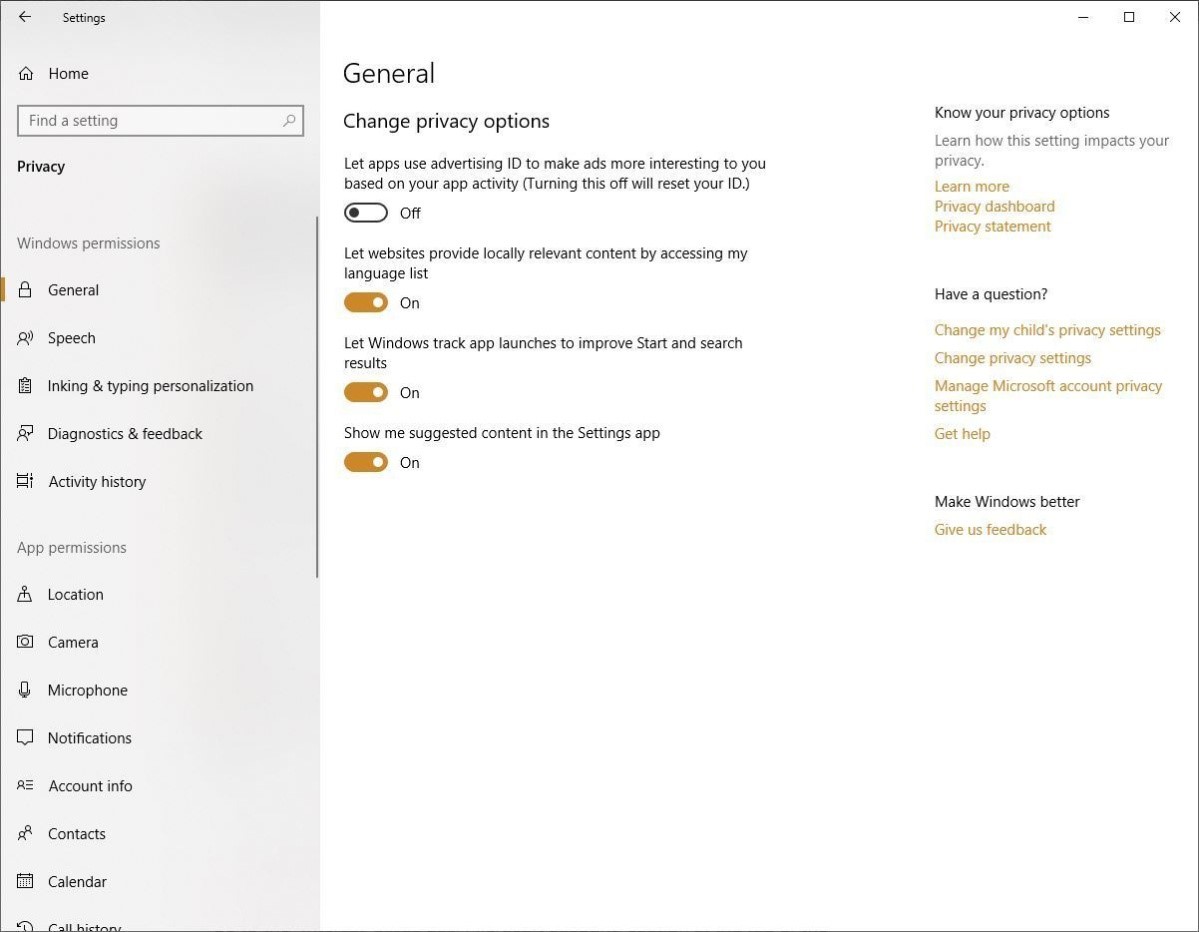
(Image source: Computerworld )
)
Disable Location Tracking
Location tracking enables applications such as news and weather services to determine your whereabouts and deliver relevant reports. But it can be seen as an intrusion, especially if you’re doing something personal or business related where you’d prefer that your location remains unknown.
Start > Settings > Privacy > Location will take you to the “Allow access to location on this device” option, which you can change by moving the slider to Off. This will disable location tracking for every user on your PC.
![]()
(Image source: Computerworld)
If you’d prefer to have location tracking on for selected applications, there’s a way you can specify this. Leave location tracking on, but scroll down to the “Choose apps that can use your precise location” option. Turn the slider off for each app that you don’t want to have access to your movements.
Clear Your Location History
Windows 10 retains a log of where you’ve been in the past, so you’ll need to scroll down to “Location History” and click Clear to delete this information. Remember to do this regularly if you’ve left location tracking on for certain programs, as your location history builds up and refreshes itself on a daily basis.
Disrupt Your Timeline
Beginning with the Windows 10 April 2018 Update, the operating system has a Timeline feature which lets you review and then resume your previous activities or open files that you were working on before. This applies to your local machine and any other devices that are linked to it or synchronize files.
Settings > Privacy > Activity history will take you to a menu with “Store my activity history on this device” and “Send my activity history to Microsoft” options. Uncheck both of these to disrupt your timeline.
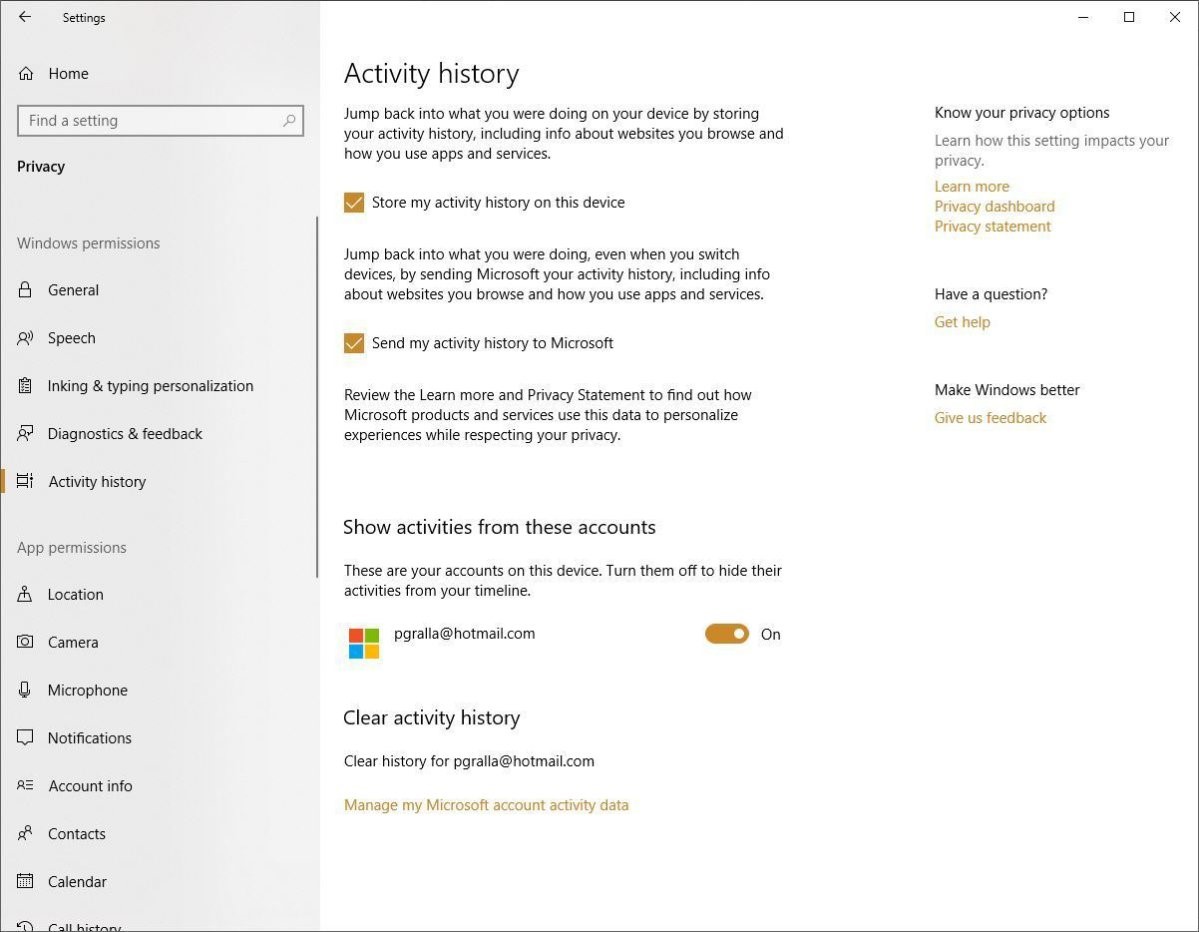
(Image source: Computerworld)
As with location tracking, Windows 10 keeps an activity log. To delete this history and clear your Timeline, go to the “Clear activity history” section of the screen and click “Manage my Microsoft account activity data.” This will take you to Microsoft’s Privacy Dashboard (which we’ll be discussing later) and options to clear your Timeline.
Limit Cortana’s Assistance
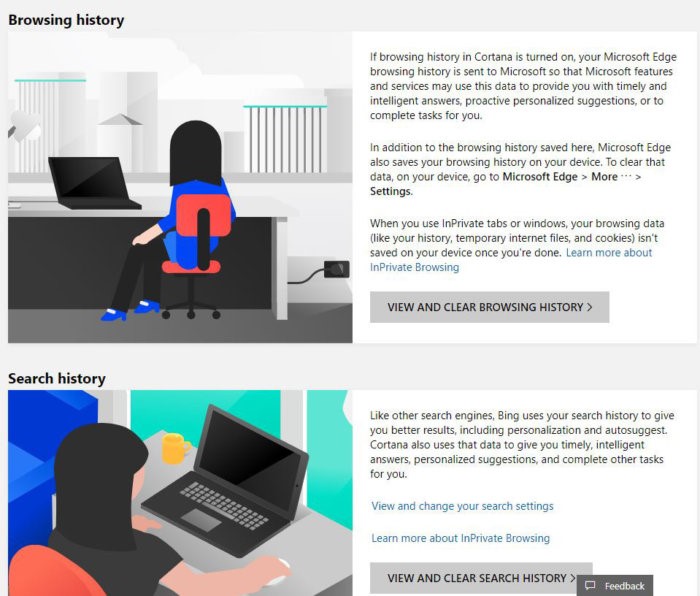
In order to do its job more effectively, Microsoft’s Cortana digital assistant prefers to gather a wealth of information on you, your habits, and your activities. As this data can include things like your home address, work place, and travel routes, you might want to limit the amount of data access given to Cortana.
Under Settings, Cortana (click the gear icon), select Permissions & History. To “Manage the information Cortana can access from this device,” you can turn off “Location,” “Browsing history,” and “Contacts, email, calendar & communication history.” The Cortana’s Notebook section of the Microsoft Privacy Dashboard offers further options for fine-tuning how Cortana handles your information.
![]()
(Image source: Computerworld)
Switch to a Local Account
If you go to Settings > Accounts and select “Sign in with a local account instead,” your Windows 10 sessions won’t automatically send data to Microsoft or allow the syncing of operations between your Microsoft-registered devices.
Note that once you complete the wizard and sign in locally, you’ll no longer have access to Microsoft’s OneDrive storage or be able to download and install paid apps from the Windows Store. Free apps will still be available, however.
Tweak Your App Permissions
Speaking of apps, you’ll probably want to disable information access for software that uses your camera, microphone, location, pictures, or videos.
Settings > Apps > “Apps & features” will display a list of your installed applications. Click “Advanced options” on each app you wish to configure and set the permission sliders to On or Off as required. This approach only works for apps that have an “Advanced options” setting.

(Image source: Computerworld)
To configure app permissions more generally, go to Settings, Privacy, then the “App permissions” section on the left of the screen. Here you’ll see a list of your Windows 10 hardware (Microphone, Camera, etc.) and all the apps with access to these devices. Click on the device heading, and you’ll be able to turn application access On or Off on an individual basis.
Filter Your Windows 10 Diagnostic Data
As a way of improving the operating system and optimizing the user experience, Microsoft collects information about your hardware and what you do when you use Windows 10. You can regulate this flow of information by choosing Settings > Privacy > Diagnostics & feedback.
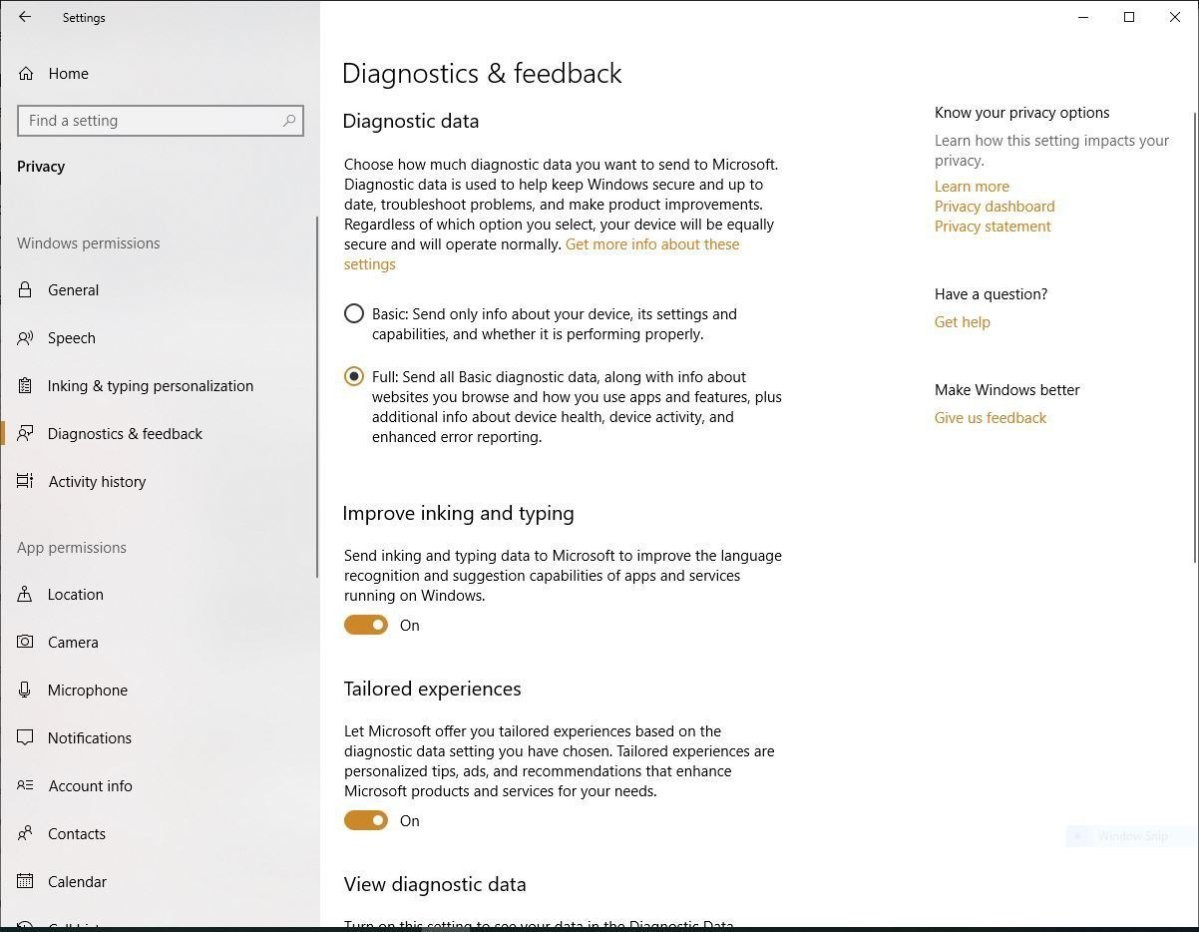
(Image source: Computerworld)
The Diagnostic data section offers two levels of data-gathering: Basic and Full. For privacy protection purposes, you should select the Basic option, which only sends information to Microsoft “about your device, its settings and capabilities, and whether it is performing properly.”
Use the Privacy Dashboard
The Microsoft Privacy Dashboard enables users to track and delete a lot of the information that Microsoft collects. For example, it provides a greater level of control over your advertising ID if you sign into your Microsoft account and go to the Ad Settings section. Here, you can turn off the “See ads that interest you” option or disable the “See personalized ads in your browser” feature for each Microsoft browser you use.
(Image source: Computerworld)
Don’t Rely on the Operating System
With all the configuration in the world, Windows 10 won’t successfully protect your privacy—nor will any other operating system—if you don’t make a good job of privacy protection yourself. While on this subject, be careful about system updates and patches, as enabling Windows 10 updates by default can reverse any changes you’ve made or add new ones, granting more access to your data.
More generally, you should exercise restraint in the amount of information about yourself that you put out there. This applies to personal data, financial/transactional information, and comments and observations you make on websites and social media.
You should also practice due diligence in researching the people and organizations that you deal with, the sites and online platforms you visit, and the various tools that you use.
With this approach and a properly-configured Windows 10 installation, you can protect your privacy in a proactive and sustainable manner.