 In today’s article we will discuss implementing a PKI (Public Key Infrastructure) on a Windows Server 2008. The PKI will be used to authenticate wireless users. Note that the steps indicated here can also be applied to Windows Server 2012 versions. Before proceeding to the actual practice example, we’ll have to get acquainted with the elements used in this process. I will be using a virtual machine on my ESXi node. It’s easier to use a Virtual Machine since you can rollback changes much faster rather than using physical servers.
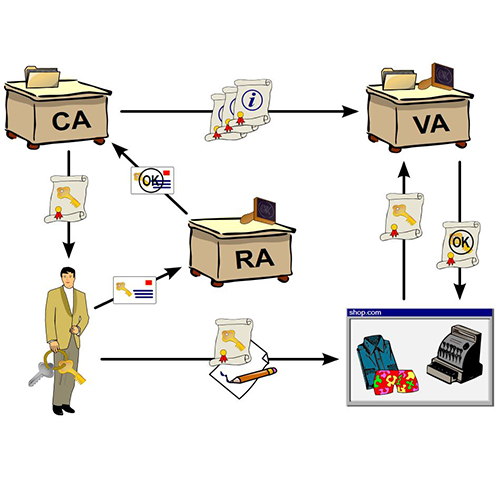
Windows Server supports several authentication methods and multiple wireless security standards. Among the well-known Wireless Security standards are WEP, WPA with its two methods WPA-PSK and WPS-EAP, WPA2 and no security. Because WPA-PSK and WEP rely on the pre-shared key for wireless authentication, these two methods are not used within large enterprises. The reasons for not using these two wireless authentication methods are the fact that they are hard to scale and maintain but also pose a certain risk level because if the pre-shared key is cracked, then the whole network becomes vulnerable. To achieve better results in terms of network security and manageability, you’ll need to install and configure WPA-EAP. To deploy a WPA-EAP infrastructure you’ll need to configure a PKI and install certificates on all RADIUS servers and wireless clients. The RADIUS servers must trust the CA (Certificate Authority) that issued the user/computer certificates for wireless clients and the clients must trust the CA that issued the computer certificates for the RADIUS servers.
For easier management you should install a PKI and set the auto-enrollment feature to provide wireless clients the necessary permissions for WPA-EAP wireless authentication. Using this feature, client computers will be able to request and renew certificates without user interaction. This means that there will be no application failures or authentication errors that are caused by expired certificates.
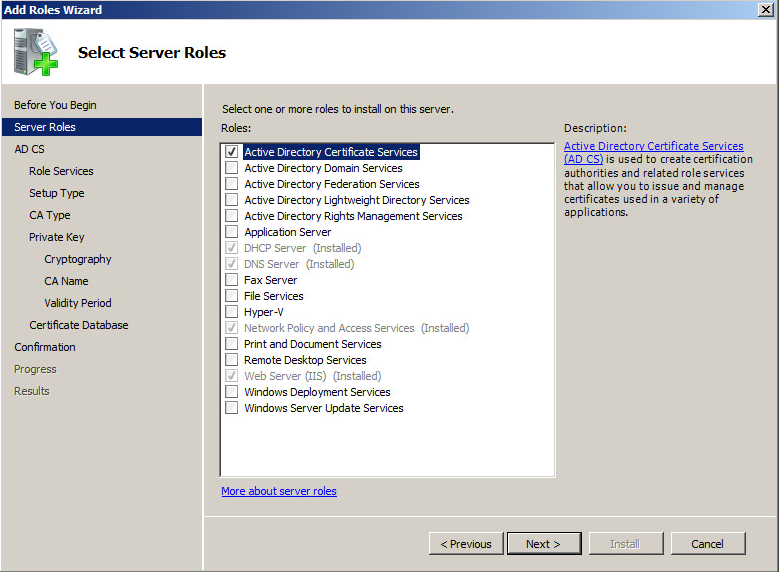
We’ll need to add the Certificate Services role to one of your Windows Servers. Note that all network devices involved in the wireless authentication process must be part of the same domain. Open the Server Manager console, navigate to the Roles section and press the Add Roles button. Skip the welcome screen and select the Active Directory Certificate Services:
In the Role Services section check the Certification Authority box and press next. The Setup Type used in our case is Enterprise because our server is part of an Active Directory domain. Because we are implementing a Public Key Infrastructure for the first time, we’ll install a Root CA. Remember that the Root CA is responsible for issuing and managing certificates. To be able to generate and issue certificate for our clients, we’ll need to create a new private key that will be used by our CA. In the Configure Cryptography for CA select RSA#Microsoft Software Key Storage Provider, use a 2048 character key length and the SHA1 hash algorithm. Leave the CA name as indicated by the add roles wizard or change it as desired and set the Validity Period for 5 years. If desired, select a certificate database location if not, skip this section and proceed with the installation.
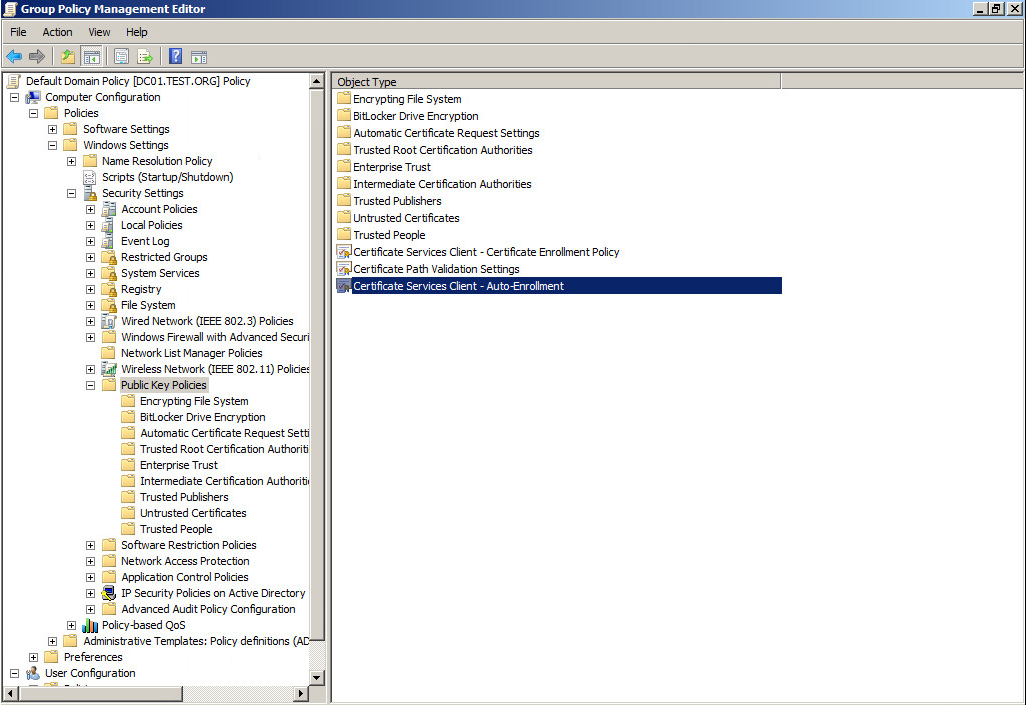
Now open the Group Policy Management Console (GPMC.msc) and edit the Default Domain Policy. Navigate to Computer Configuration/Policies/Windows Settings/Security Settings/Public Key Policies and open the Certificate Services Client – Auto-Enrollment:
CLICK HERE to continue to the last steps in the article