In this article we will discuss Terminal Services or Remote Desktop Services available with newer versions of Windows Server. I will describe the main components that make up this technology and we will then install and configure this feature. A Terminal Server is a machine which offers RDP clients a way to connect and access services and applications on one powerful machine. A centralized machine on which clients would connect offers a lot of advantages.
One important aspect is that you would provide clients low specs hardware devices to be able to connect to the Terminal Server, so overall costs of your network devices are highly reduced. Applications are centralized, updated and managed on the Terminal Server which means that not only do you decrease the workload of your Administrators, but increase network security and reliability. Data is stored in a centralized fashion and can be backed up directly from the Terminal Server, thus enabling you to better control data manipulation.
One important aspect that needs consideration is the single point of failure that can occur within such design. This problem can be fixed by deploying multiple Terminal Servers that are load balanced to provide users multiple sources to connect. Microsoft has addressed this issue by creating the Terminal Server Session Broker Service which is responsible for load balancing RDP connections between multiple Terminal Servers. The TSSB service will host a local database with all active sessions and will allocate new connections using the Round Robin technology from the local DNS Server or by using the Network Load Balancing technology.
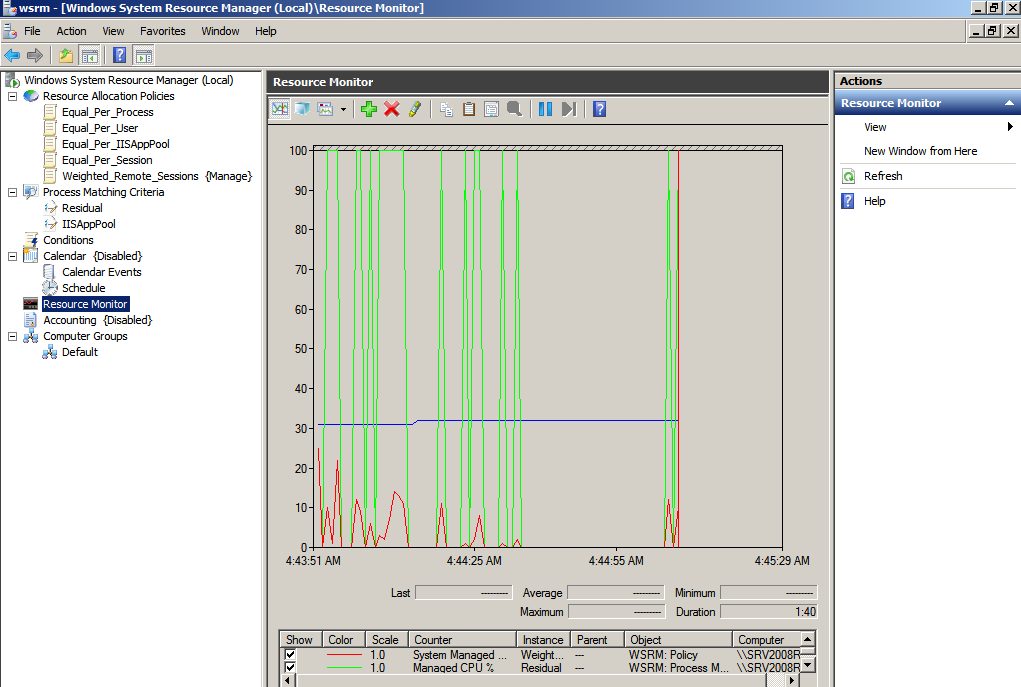
For applications that require high hardware resources, it would be much easier to deploy a Terminal Server for your whole network infrastructure rather than upgrading/installing individual machines for each user. Hardware usage can be monitored using Windows System Resource Manager, a feature that can be installed with Windows Server 2008:

When planning to deploy a TS Server you will need to take into consideration several factors. The machine hosting the Remote Desktop Service must have enough RAM and CPU capacity to sustain all users that are going to connect to it. You would also need to consider the bandwidth latency for remote users because low performance may decrease user’s productivity.
Besides the Terminal Services Role you will also need to deploy a TSL (Terminal Services Licensing) Server within your organization. This is a service responsible for generating and assigning Terminal Services client access licenses (TS CALs) to your RDP clients. Licenses must first be acquired and activated from Microsoft using the activation Wizard available with TSL. When the TS Server is activated, a certificate is generated to validate the server’s identity and ownership. This digital certificate will be used in future transactions when more TS CALs will be activated. The Terminal Service Licensing server can issue two types of client access licenses:
· TS Per Device Cal – the Cal is assigned to devices and computers. The license will allow network devices to connect to the Terminal Server
· TS Per User Cal – gives a Cal license to a specific user and those credentials can be used to authenticate to the Terminal Server from any machine within your network
TS feature allows deploying a Terminal Service Web Access Service to allow clients to connect to the TS using a web page rather than accessing it using the local Remote Desktop Services client. One requirement of using this feature is that the Server must run Remote Desktop Services and IIS (Internet Information Services) web server. We will add this feature to our Server when installing Remote Desktop Services.
For this demonstration I will be using two Windows Server 2008 R2 machines; one is the Domain Controller for my AD infrastructure and the second one will be used to host Remote Desktop Services. Login to the designated Server, open the Server Manager Console, navigate to the Roles section and press the Add Roles button. From the available list select Remote Desktop Services and process to the next section:

From the Role Services section select Remote Desktop Session Host, Remote Desktop Licensing, Remote Desktop Web Access and click Next:

From the Authentication Method page select Require Network Level Authentication and select Per User licensing mode:

You can leave the rest of the settings as default because we can configure those later. Now proceed with the Installation and wait until the server is restarted. Log in to your DC and create a new user account using Users and Computers Console. Add the user to the Remote Desktop Users group. We will use this user to connect to our Remote Desktop Services Server:

Open Group Policy Management Console, create a new Group Policy, link it to your domain and enter editing mode. Navigate to Computer Configuration\Windows Settings\Security Settings\Local Policies\User Rights Assignment and open Allow Log on through Terminal Services policy:

Enable this policy by checking Define these policy settings and add the Remote Desktop Users group. Wait until the policy has been applied or execute gpupdate /force on your TS Server.

Now let’s try to establish a RDP connection to our Remote Desktop Services Server. If the connection is not successful, you’ll need to enable RDP on the target machine. Navigate to Control Panel\System and Security\System and click on Remote settings button. Allow Remote Desktop only from computers running Remote Desktop with Network Level Authentication:

Once we’ve tested that the RDP connection is successful, let’s make further configurations to our Terminal Server.
From the Administrative Tools menu open Remote Desktop Session Host Server Configuration Console, right click RDP-Tcp and select Properties:

There are several things that we can configure in this section, so I will point out only the most important features. From the General tab we can configure the Security Layer method (we’ll select SSL TLS1.0) and the encryption level (set it to high so that all traffic is encrypted using the highest encryption key possible):

On the Security tab we can add Security Groups or Users that will be able to interact with the Terminal Server.
In the Network Adapter section we can configure the maximum number of connections allowed per network interface. For this example I’ll configure my TS server to support maximum 10 concurrent connections:

In the Remote Control settings we can allow System Administrators to interact with user’s sessions. In case they have problems accessing applications or you’ll need to troubleshoot session related stuff, you can configure the TS server to allow you to view or interact with the user’s session:

Terminal Services Licensing Server can be activated with Microsoft by using the RD Licensing Manager Console available in Administrative Tools. Once you’ve opened up the console, navigate to your TS Server, right click and select Activate Server:

You’ll need to follow the activation Wizard and select one of the three activation methods. Note that I haven’t bought TS CALs from Microsoft, so I will not cover that in today’s article.
One more thing we need to check out is the Terminal Service Web Access feature that we’ve configured during the installation process of our TS Server. Open a browser and navigate to https://localhost/RDWeb. The webpage will allow users to connect to your Terminal Server directly without using their local RDP client. Note that you can add a DNS record to point to your TS server so that the webpage is available throughout your organization.

I hope you’ve understood the main principles behind this technology, which I’ve found very useful, so maybe this article will clarify any problems that you may have regarding Terminal Services technology. We haven’t covered Terminal Services Gateway feature which allows external clients to connect to your Terminal Server using an encrypted channel provided by a VPN connection. Most deployments of TS Servers are made in the intranet so, you will not need to configure a TSG Server.
Don’t forget to rate this article and comment in the discussion section below. Enjoy your day and don’t forget to check out our website for the latest articles!